

The main benefit of a live shopping session is that it allows customers to purchase your products straight from a video experience. In this article, we will focus on manually adding products with our iOS live shopping app.
With our live shopping software, you can create multiple channels, each designated to a specific brand or series of sessions. And for each of them, you can activate the specific products that you want to showcase during the live shopping session.
And while we have special integrations that allow you to automatically import products from your eCommerce platform (here is a short tutorial on how to connect your Shopify store for live shopping), you can also manually add products and get started right away.
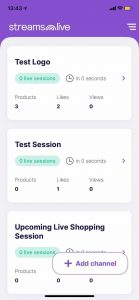
1. Open the iOS live shopping app
On your IOS device, open the Streams.live App and select the live shopping channel for which you’d like to add products. As our mobile and web apps are interconnected, you will have access to all your channels.
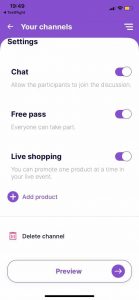
2. Add your live shopping products
Select the ‘Add product’ option. Depending on the type of account, you can upload between 10 and an unlimited number of products for your next live shopping session. You can see all the features included for each account type by checking our pricing page.
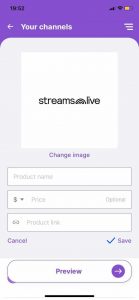
3. Customize your products
To change the image of your product, simply press on the ‘Chane image’ -> ‘Photo Library’ option and choose a picture from your device’s memory. If you choose the ‘Camera’ option, you can take a real-time photo of your product and upload it. Next, input the price and copy/paste the URL where your customers will be redirected to complete the purchase once they press the ‘Buy’ button during the live broadcast. Save your product(s) and go LIVE.
Final words
Set up your next session, add products with our iOS live shopping app, share it with your audience, got live, have fun, and sell. And don’t hesitate to contact us if you need our help.


